
Before you start
- Create the relevant family member first and have the visit date and documents ready.
- Check recognized text against the original, especially dates, names, test items, values and units.
- PDF export requires an active paid entitlement. Local record encryption and backup passwords do not protect exported PDFs.
Put the record with the right person
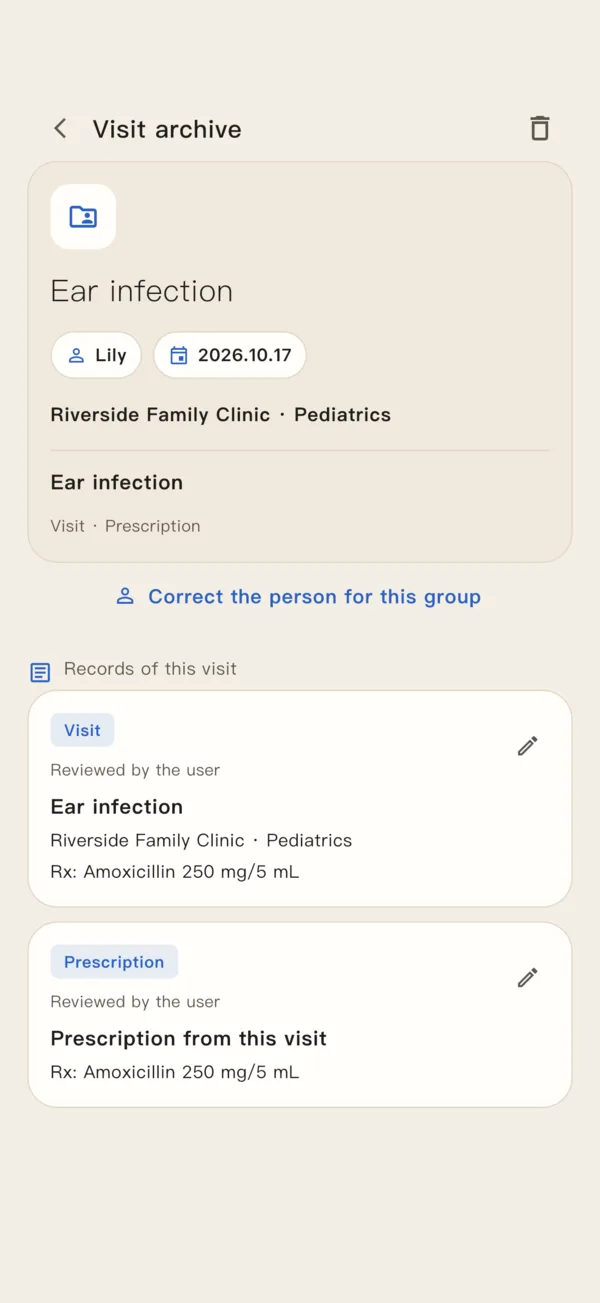
Create the person in family-member management in settings before entering their visit. The selected member determines how records are filtered and exported later; a photo filename is not enough to establish who a record belongs to.
Organizing information is different from interpreting it medically. MedCabin can keep test results and visit documents, but it does not diagnose from those results or decide treatment.
Enter and check a visit
Check the selected family member before each save, then confirm that the visit appears in the correct timeline.
Open the records screen
Choose document capture or manual entry, then enter the information for the visit.
Choose the person and date
Select the family member in the edit screen and check the visit date. The record cannot be saved without a member.
Check and save the documents
Compare recognized content with the original and add the information you need to retain. Make sure one person’s documents have not been assigned to someone else.
Filter the timeline
Return to the records screen and use the member and other available filters to check the scope you want to collect.
Export from records, not from a single visit’s text share
Use the PDF icon at the right of the records screen’s filter bar. The current filters also apply to export, so check the person and record scope first. Without an active paid entitlement, this entry leads to the purchase screen.
The PDF is generated on your device and handed to the app or recipient you choose through system sharing. Copying or sharing text from an individual visit is a different operation, not the timeline PDF export.